
Table of Contents
Overview
While keeping your automated campaigns (communication profiles) and newsletters organization-neutral can simplify your workflow, you may sometimes want to personalize them. This article shows you how to add custom text to any automated campaign or newsletter for a specific job.
Note:
This feature applies only to automated campaigns (communication profiles) linked to specific jobs. It does not apply to general One-time Messages (Newsletters) created from the Communications tab.
Learn more about different types of newsletters.
How to add custom text to a specific job
Follow these steps to insert custom text into your automated campaign or newsletter for a particular photo job.
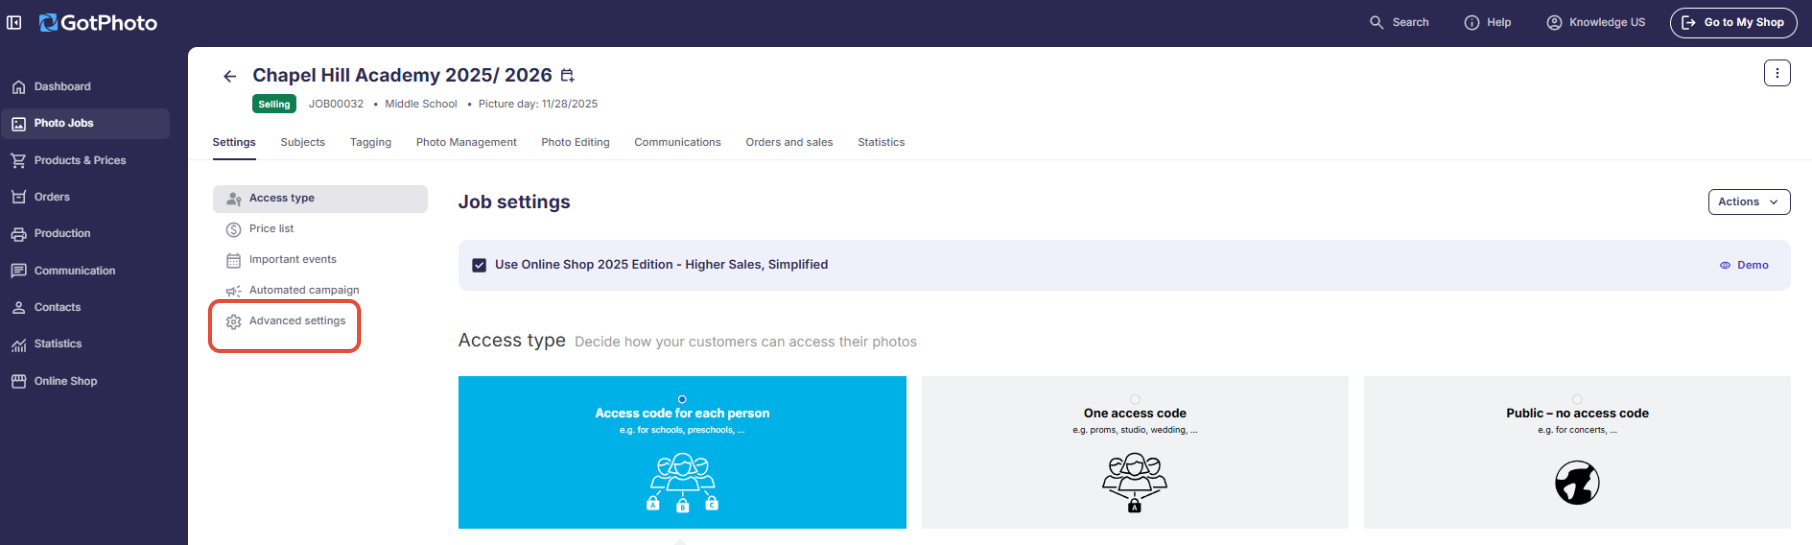
Step 1: Open the Advanced Job Settings
Go to the main settings page of your photo job.
Click the Advanced Job Settings
Step 2: Add your custom text
- Scroll down to the Custom automated campaign text section.
- Enter your custom message in the text editor.

- Click Save at the bottom of the page.
Step 3: Insert the placeholder into your message
- Open either your automated campaign message or your newsletter.
- Add the placeholder
[[Job.custom_text]]into your message.![Email editor with [[Job.custom_text]] placeholder and insert field menu open.](https://s3-eu-central-1.amazonaws.com/euc-cdn.freshdesk.com/data/helpdesk/attachments/production/103081138975/original/qEX8_MrhB5l0YDggyTvVvDAy3Nbt-sykuA.png?1705694078)
Tip: If the placeholder isn't visible, scroll to the bottom of the text box—it may have been automatically added there. You can cut and paste the placeholder to place it wherever you like within the message.
Please note that the custom text will not appear in the preview but will be included in the message sent.
FAQs
What happens if I use the placeholder but don’t enter custom text?
The message will still be sent, but the placeholder will be left empty. It will not display any text in its place.
The Takeaway
You can personalize your automated campaigns (communication profiles) and newsletters with job-specific content. This feature allows you to tailor messages for each job, creating a more personalized experience for your customers, all from the main settings page of the photo job.