
Overview
Archiving a job takes the photos in your shop offline. It’s important to set an archiving date, as this also triggers reminder emails to customers, creating urgency that can increase sales. In this article, we’ll review how to configure your archiving settings.
How to set an archiving date
Navigate to the Photo Job Settings page, then scroll to Step 3 – Important Events. There, you'll find your archiving settings.

You’ll be able to adjust the following:
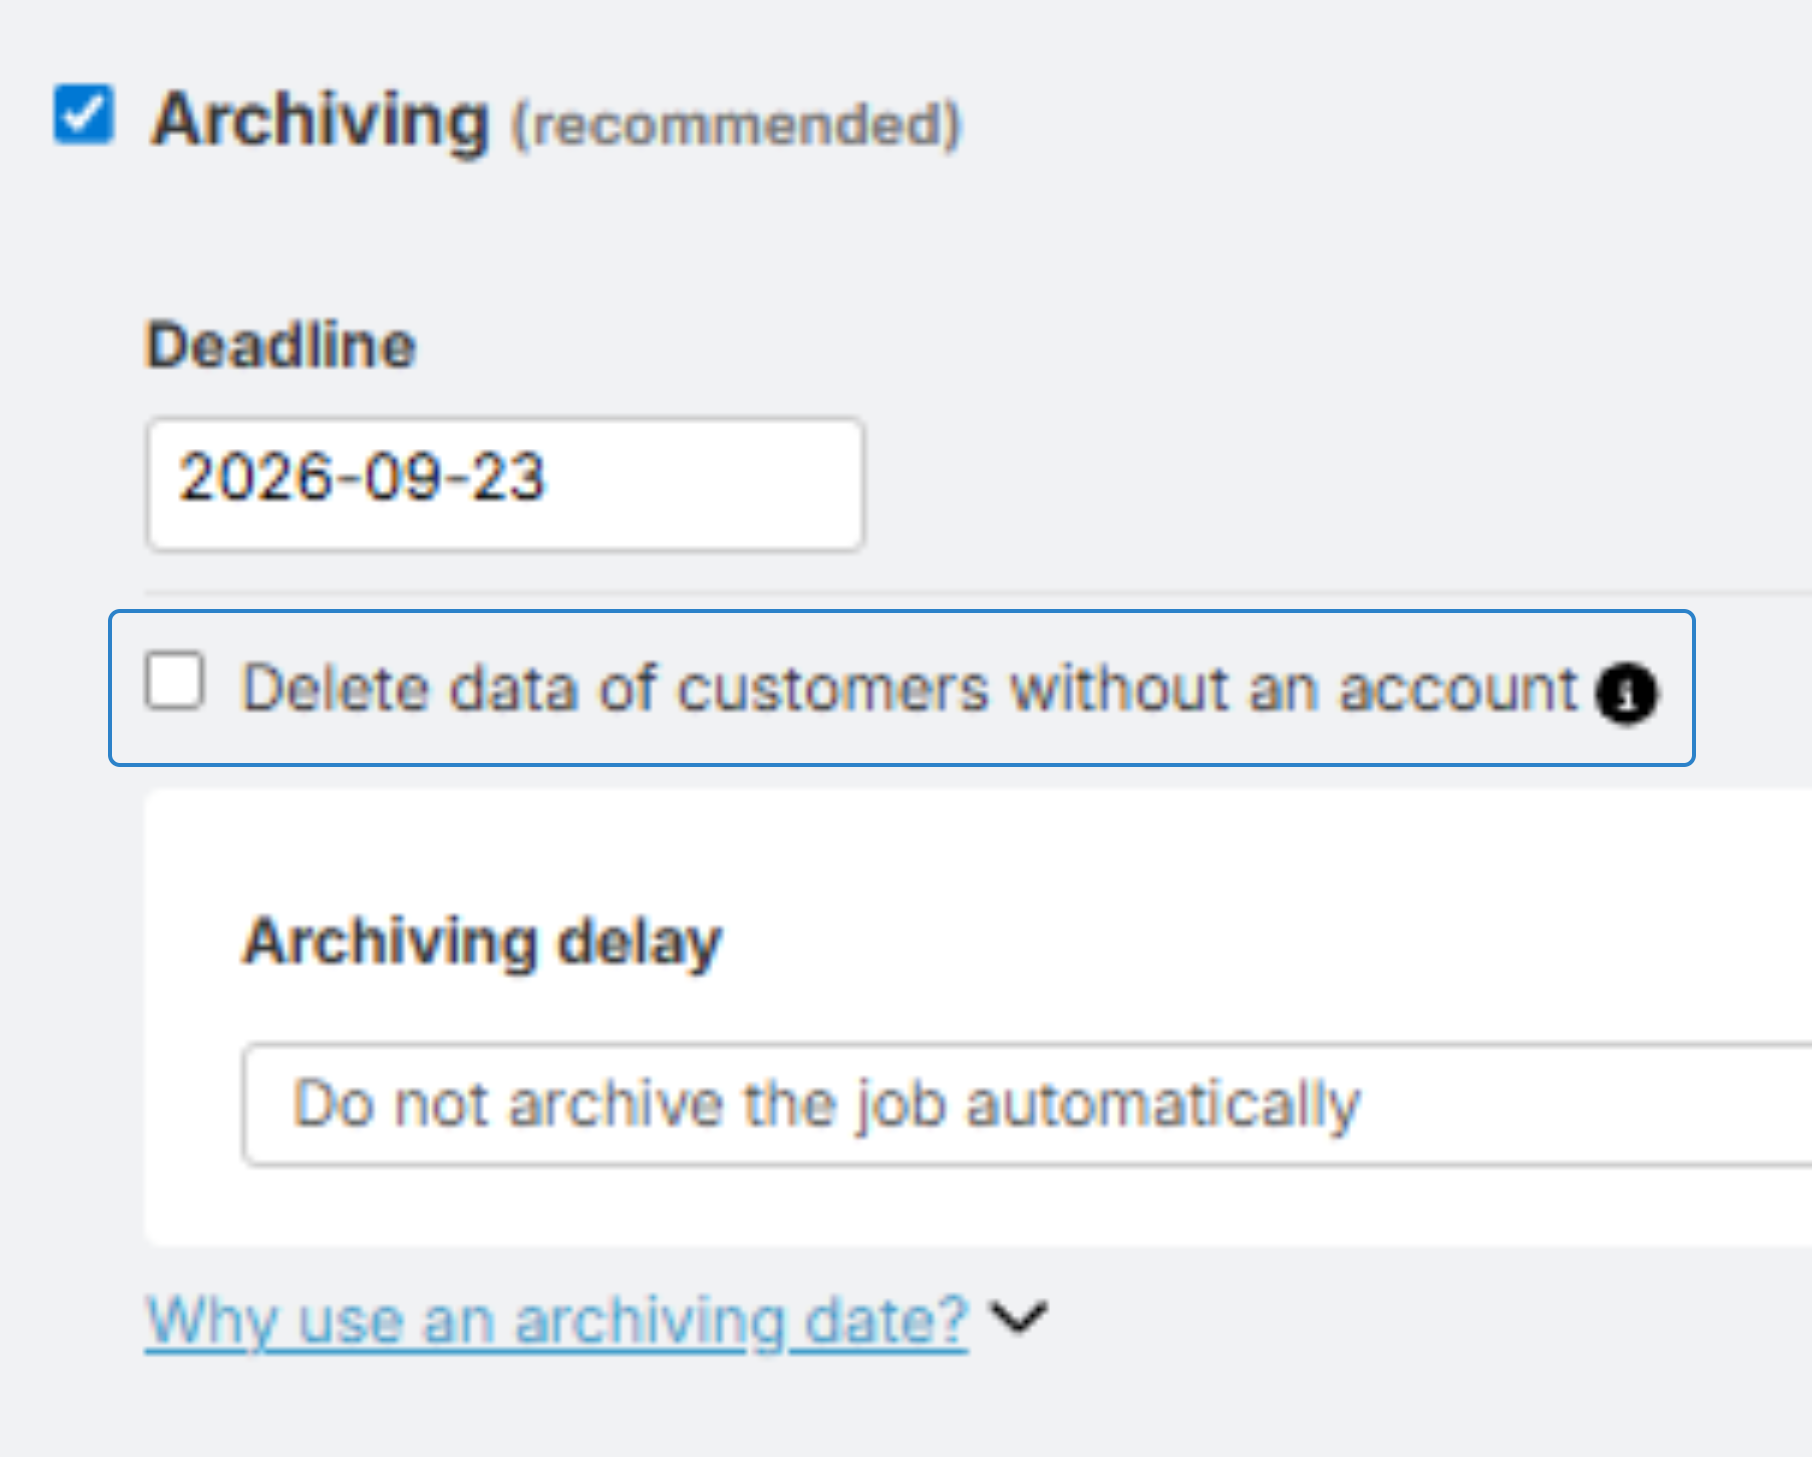
- Archiving: Tick this box to take photos offline. This also activates any archiving triggers in your automated campaign, automatically notifying customers their images will soon be removed.
- Deadline: This is the last day customers can place orders. We recommend setting the deadline on a Sunday to capture weekend traffic.
- Archiving delay: Choose to archive on the deadline or delay by 1–3 days. A one-day delay is ideal to accommodate last-minute buyers. If you select "Do not archive the job automatically" you can allow parents to place orders after the deadline without the need to reach out to you.
What happens to archived jobs
If a job is archived, and a customer logs in using a direct shop link from a new job, they may still preview older, archived jobs they have access to.
To reactivate access for a customer:
- Edit the archiving date to a future day.
- Switch the job status to selling.
This won’t send new notifications but will restore access.
To completely hide archived jobs from the shop view:
- Deactivate all albums in the archived job. This will remove it from the shop interface.
- Alternatively, delete the albums but retain the job itself for analytics and record-keeping.
How do I delete data for guest customers who do not have an account?
The option to delete the customer data without an account in bulk is available under the Archiving section of the Job settings. When the Delete data of customers without an account option is enabled, all personal data of customers that placed an order but did not set a password will be removed after the job has been archived. All customer accounts with a password remain unaffected. Each deletion request must be manually reviewed and confirmed before it is finalized.
Note: In the UK, customer accounts with orders will be scheduled for deletion six weeks after the last order has been delivered and any associated requests have been closed (if applicable).
FAQ
Can I archive multiple jobs at once?
GotPhoto does not currently feature a bulk job archive tool.
A customer missed the job’s sales period. Can I simply reopen their gallery ?
While you can’t reopen a single gallery within a job, you can reactivate the job. Simply follow these steps:
In the job settings,
1. Remove the automated campaign from the job.
2. Change the archiving date to a day in the future.
3. Save the settings.
Then switch the job to Selling and notify your customer that the gallery is live again.
The takeaway
Setting an archiving date is an easy way to boost urgency and increase orders. For best results, choose a Sunday deadline and set a one-day archiving delay. This gives late shoppers a final chance to buy without compromising your schedule.