Table of contents
- Overview
- Option 1: Integrating sibling and buddy photos into individual galleries
- Option 2: Using a separate access code for sibling/buddy photos
- FAQs
- The takeaway
Overview
In this article, we will guide you through two options for photographing multiple subjects (i.e., sibling or buddy shots). Option 1 integrates the photos into individual galleries without creating new access codes. Option 2 assigns a separate access code for these photos.
Option 1: Integrating sibling and buddy photos into individual galleries
- During Picture Day:
- Using QR Tagging (Up to 5 subjects per photo)
- Photograph the first subject’s access card, then take their photos.
- Repeat for the second subject.
- Photograph both access cards together.
- Take the buddy photo.
- Ensure access codes are visible and cards aren’t bent. Avoid shadows that may interfere with scanning.
- Using Entagged (Up to 3 subjects per photo)
- Scan/tap the name for subject one.
- Do the same for subject two.
- Take the buddy photo.
- For more on Entagged, read this guide.
- Using QR Tagging (Up to 5 subjects per photo)
- When uploading photos:
Upload all images to your Photo Job and activate the access codes.
Scenario 1: You don’t resort the photos based on the names list
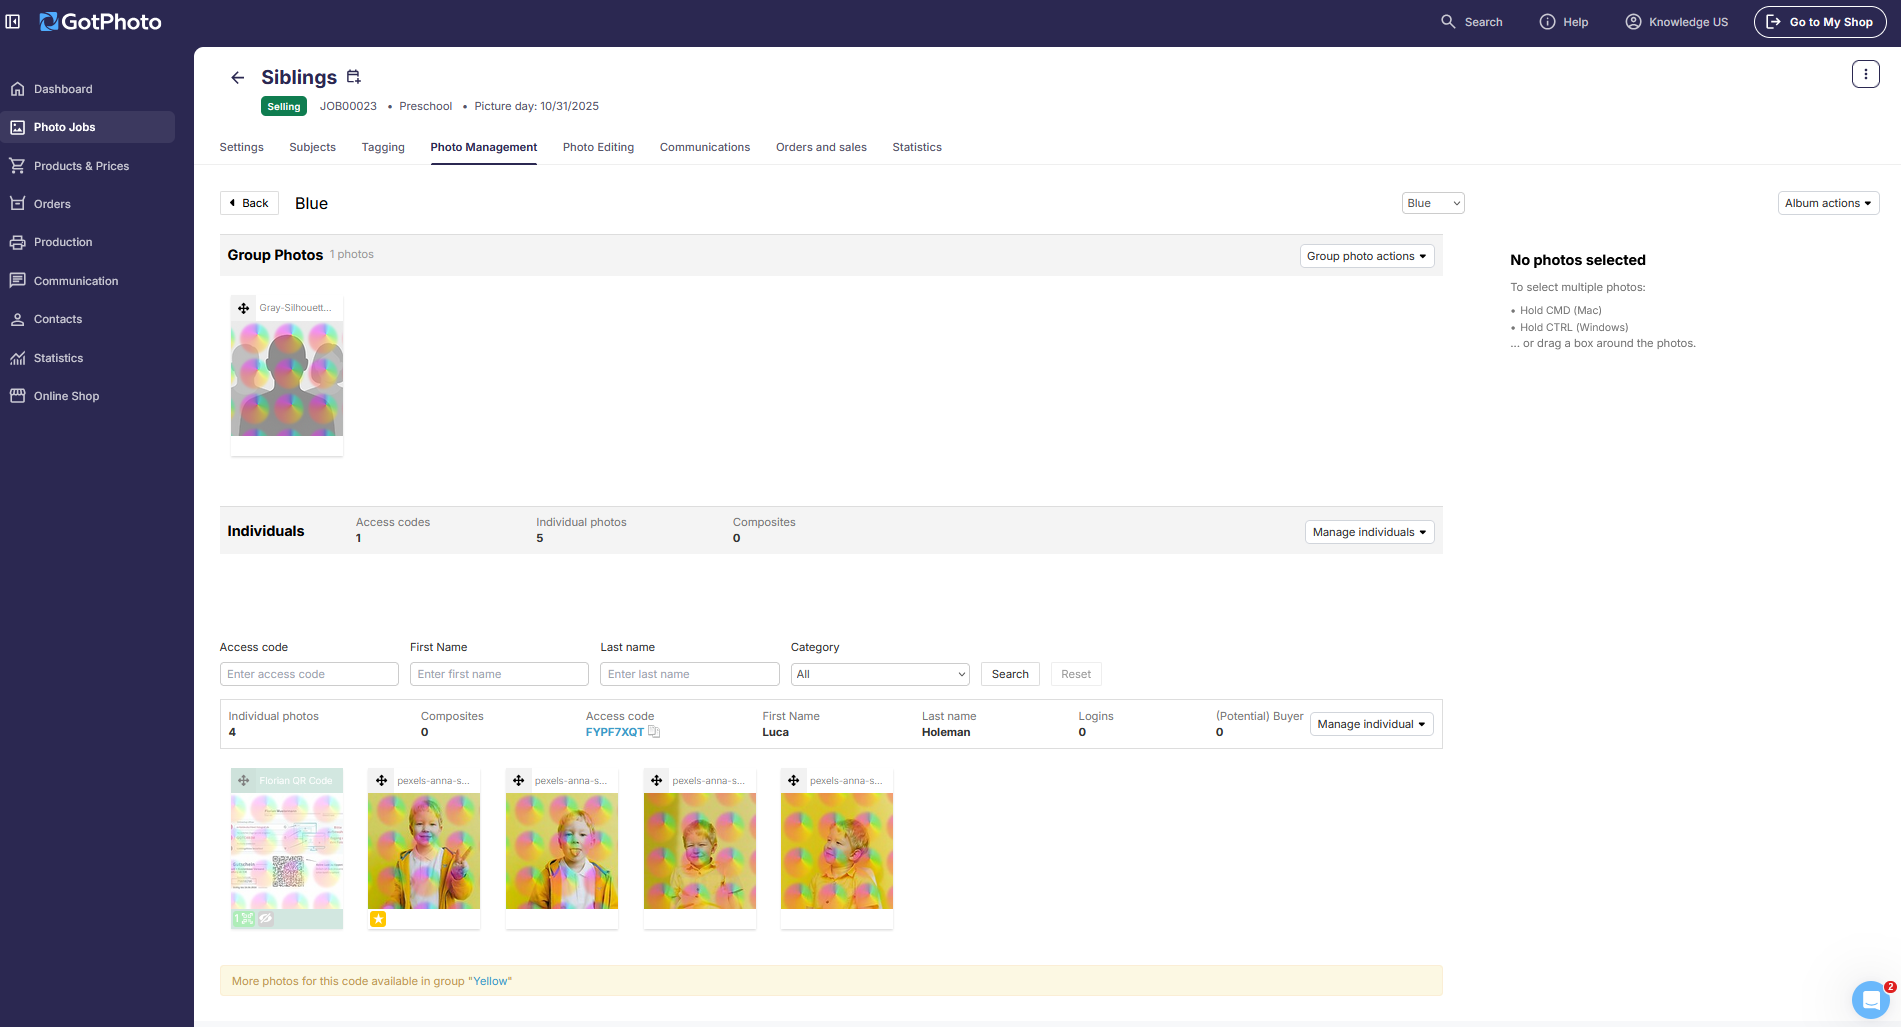
In this case, each subject gets an individual gallery. The siblings/buddy photos will automatically appear in both galleries.

Scenario 2: You resort the photos based on the names list
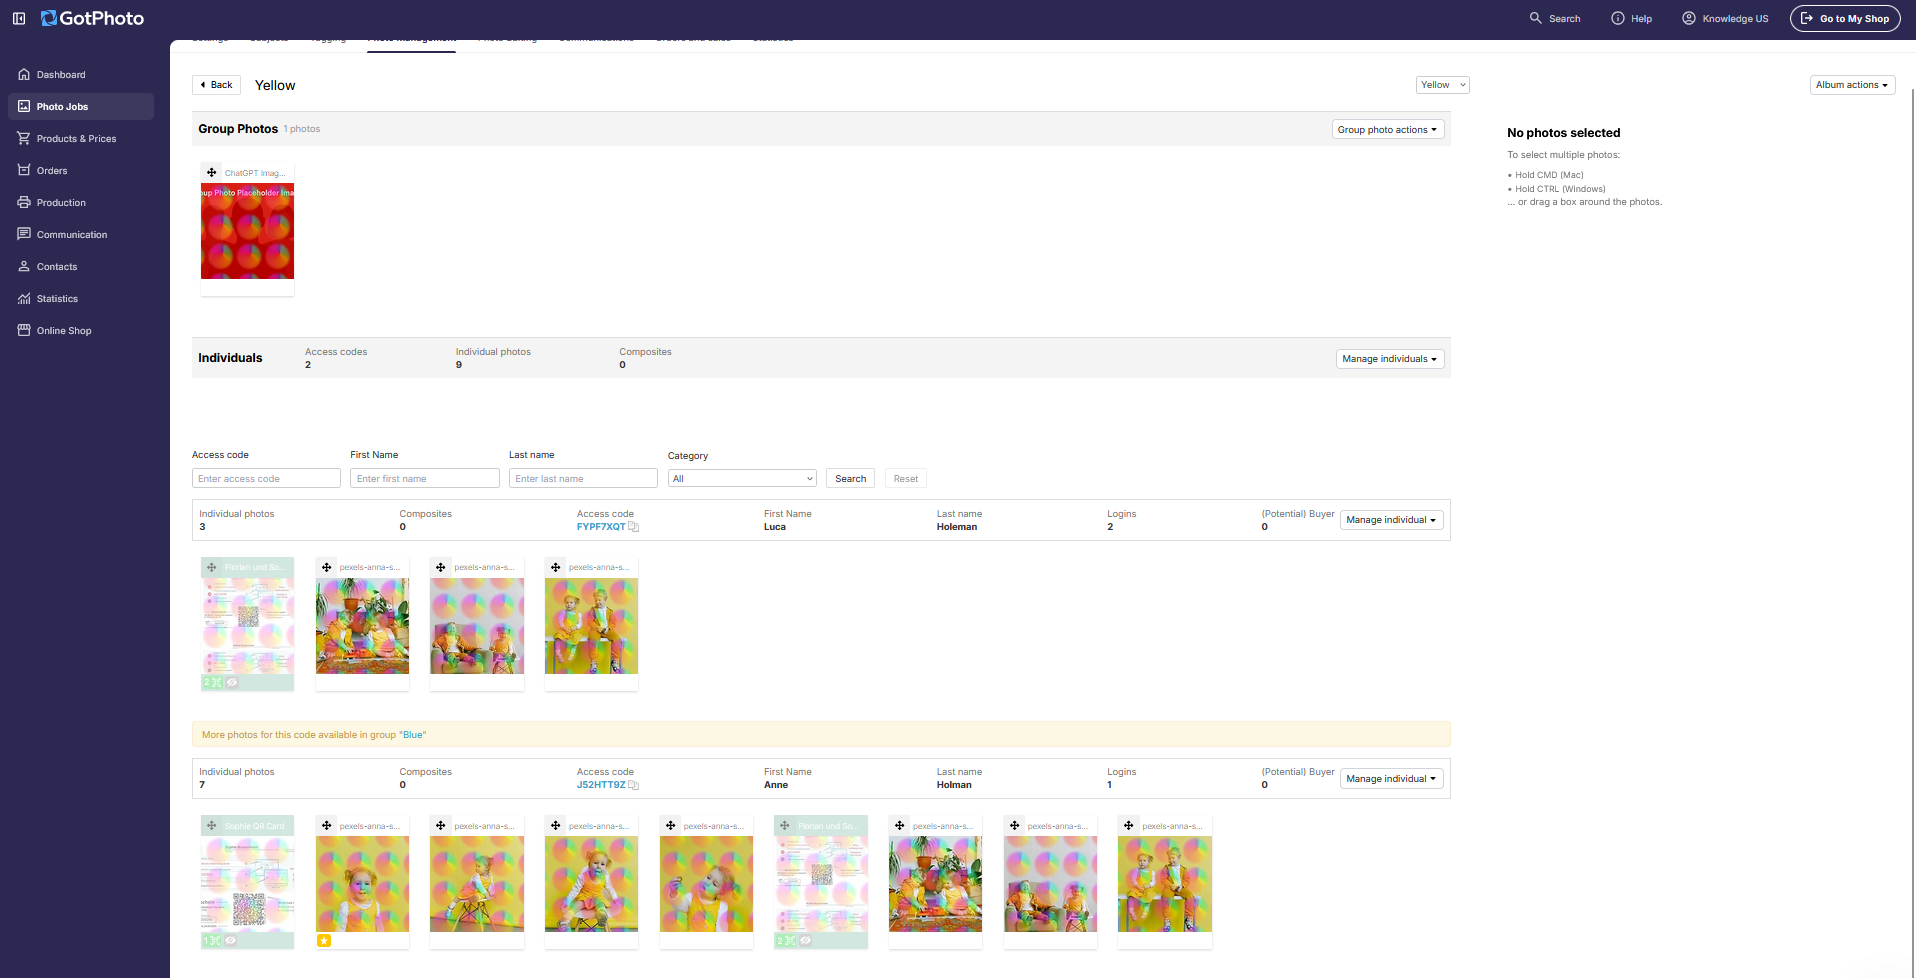
In this case, the siblings’ photos will be added to only one of the albums. They will appear in the subject’s gallery that belongs to this album, while a separate gallery using the other subject’s code will also display the siblings’ photos. Parents of both siblings can log in using either access code and will still be able to view all the siblings’ photos.


Please note that if you have buddy images, and the buddy images are in the gallery of subject B, subject A's parents will also have access to B's group image(s). If you want to prevent this, please apply the following steps when resorting the images:
⚠ Tip: If you sort images by albums (e.g., by grade), you’ll now see an optional field labeled Album name for buddy/sibling photos (Optional). This lets you place joint photos in a separate album.

Parents can log in with either access code and see individual and sibling photos. The album separation ensures only parents of those children can access joint images.
Option 2: Using a separate access code for sibling/buddy photos
If you'd like to sell sibling photos separately or limit their bundling into packages, use this method.
There are two workflows for this:
- You know in advance which buddy shots you'll take:
Create a group labeled “Siblings” in your names list. This makes sorting and exporting easier later.

- You decide during Picture Day which buddy photos to take:
Bring blank QR cards to write names and identifiers. Tag the buddy photo with this new QR code.
For barcode tagging, pre-create placeholder names in your list and rename them later. See this article for more help.
FAQs
Can I include buddy photos in individual galleries?
Yes. Option 1 allows you to add buddy or sibling shots directly into each subject's gallery, simplifying customer access and ordering.
How many QR codes can GotPhoto recognize in one photo?
Up to five QR codes per image can be detected using the QR Tagging workflow.
What’s the benefit of using a separate access code for buddy photos?
It allows more control over how buddy photos are sold, and you can offer them as part of a premium package.
The takeaway
Efficiently capture and market sibling and buddy photos using the option that best fits your workflow. You can include them in individual galleries or use a dedicated sibling gallery. Offering a higher-priced sibling package across access codes can help meet both customer demand and your revenue goals.
